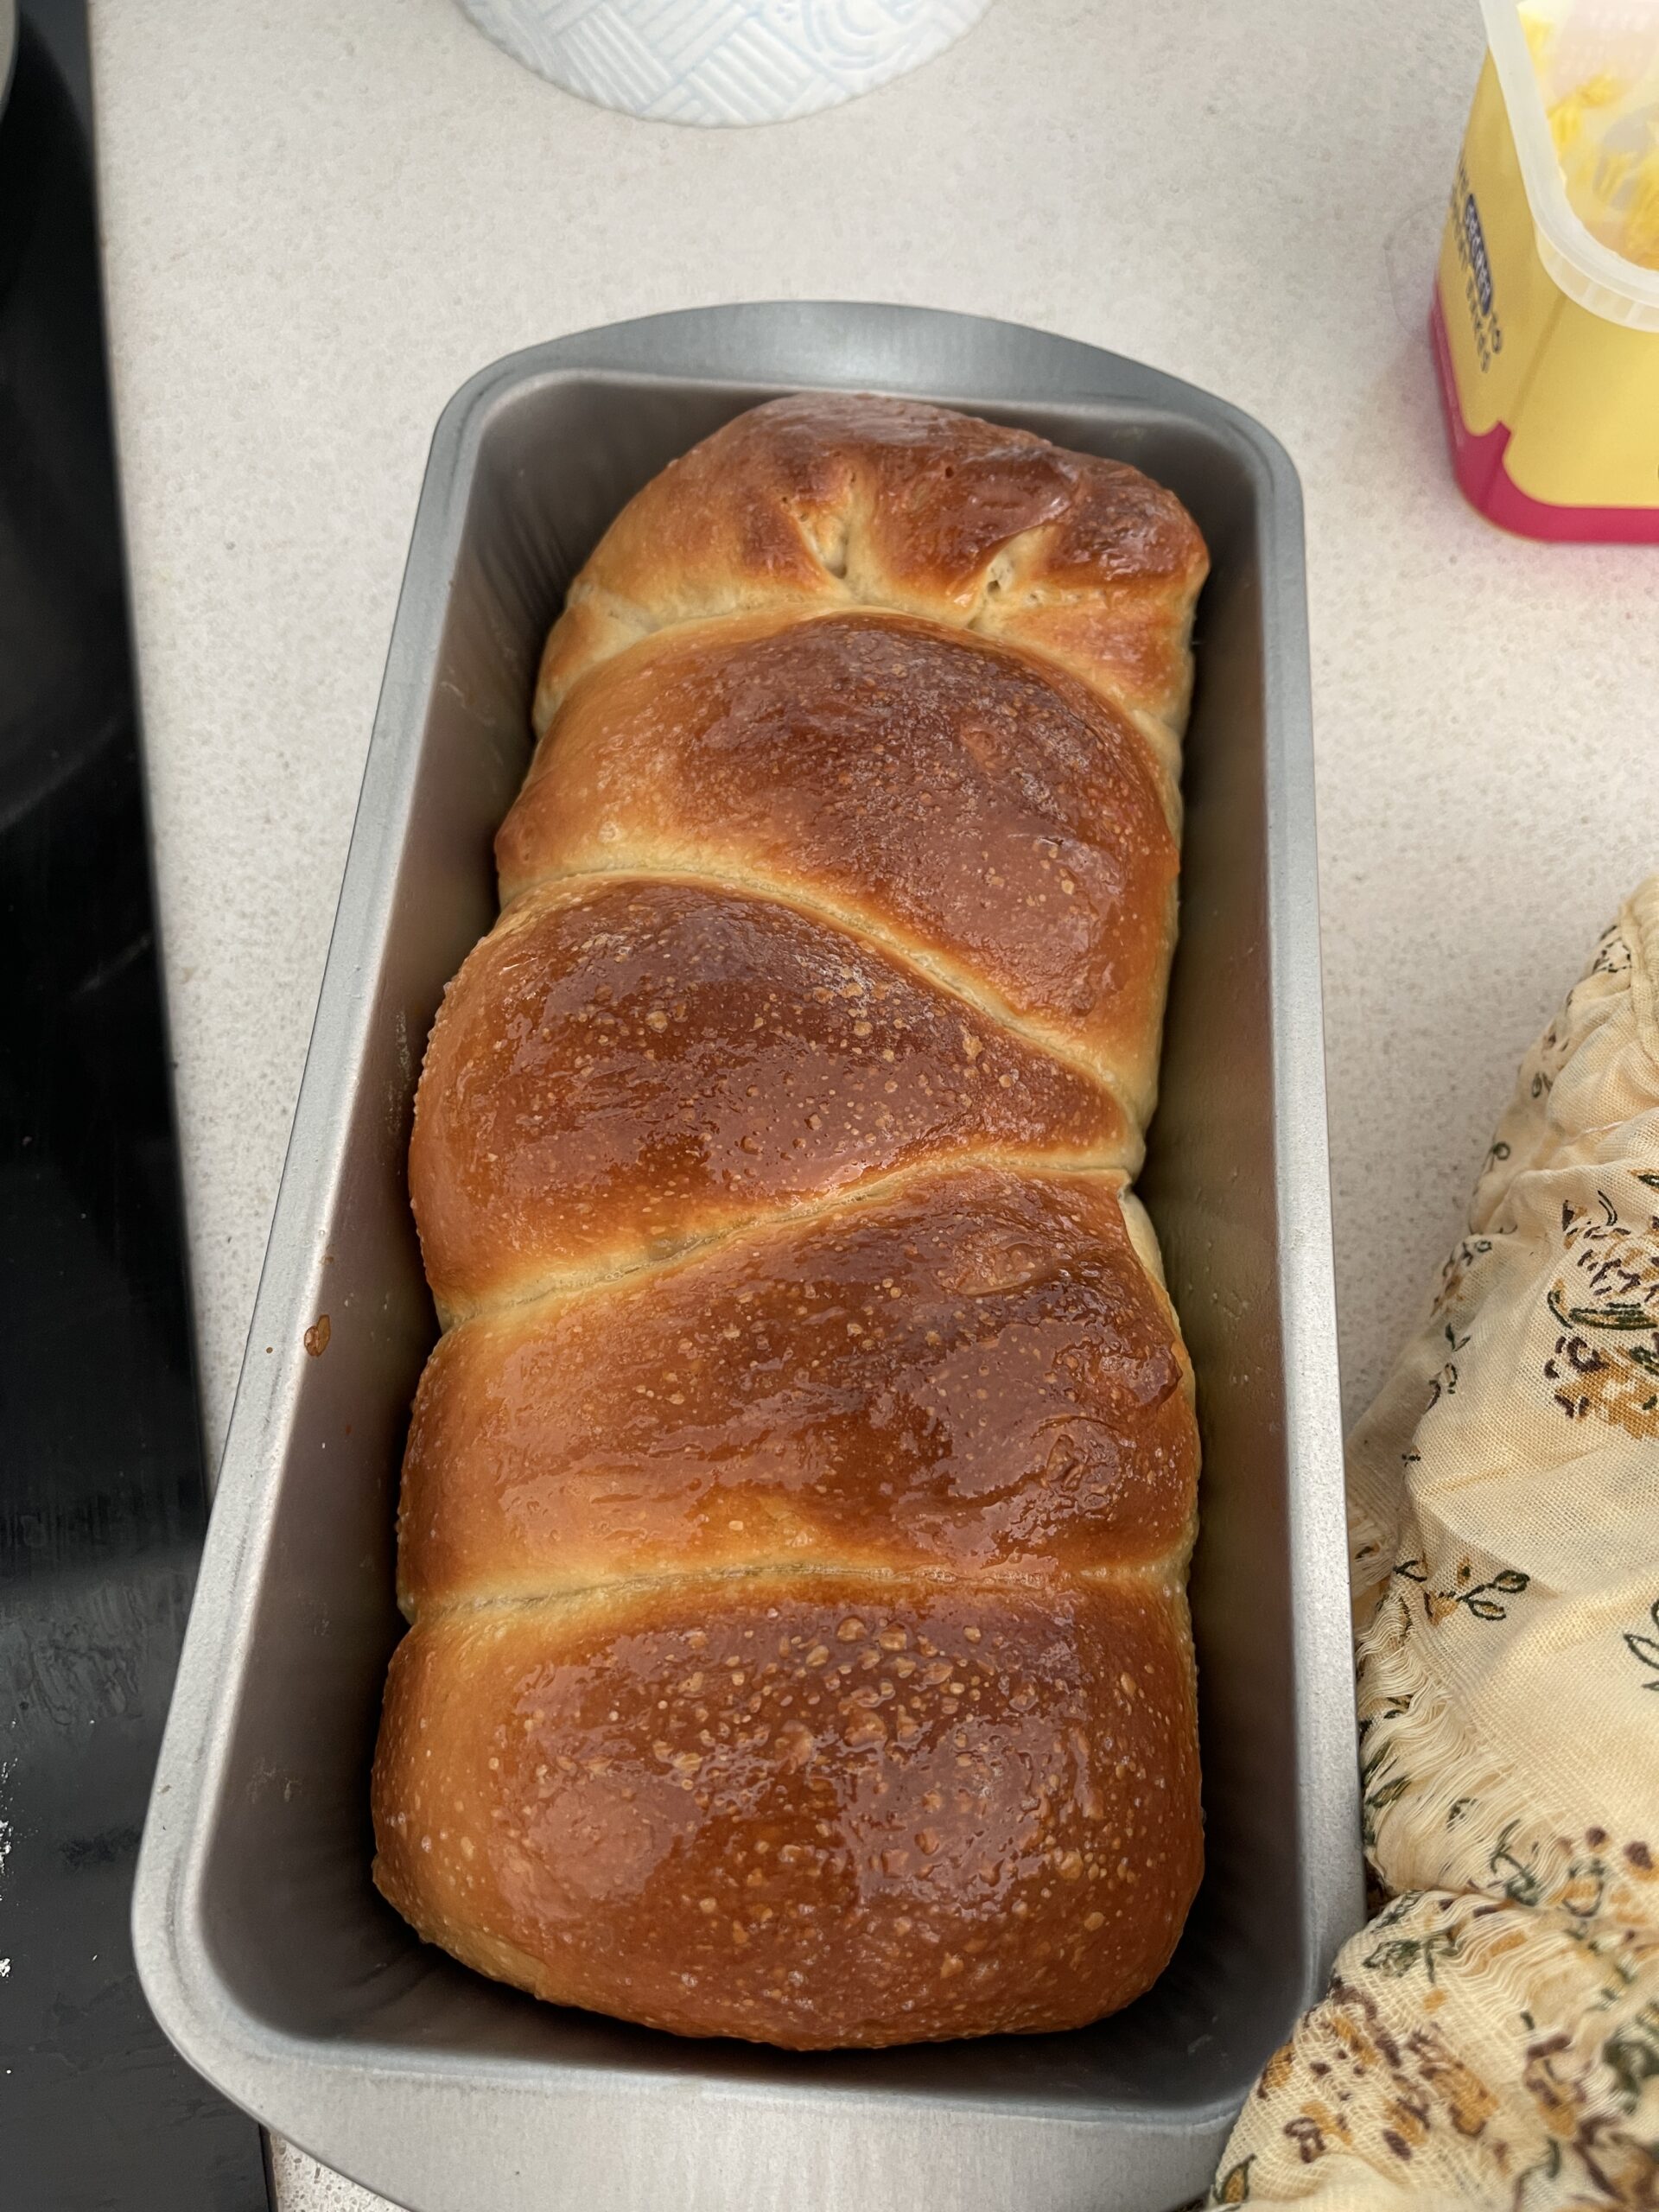
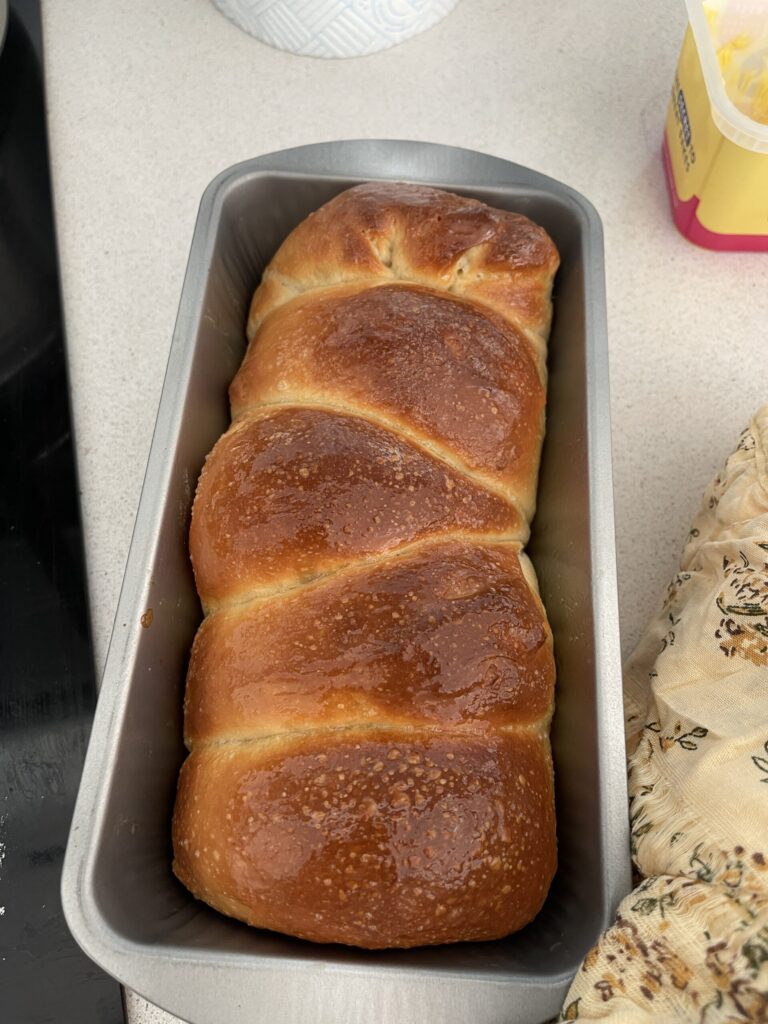
There’s something so comforting about pulling out a tray of golden, fluffy dinner rolls straight from the oven. The smell fills the house, the tops are shiny with butter, and the insides are soft and cloud-like. These pav (dinner rolls) are a staple in so many homes, whether you’re serving them with pav bhaji, dipping into soup, or simply enjoying them warm with butter and jam.
And the best part? They’re not nearly as hard to make as you might think. Even if you’ve never baked bread before, this recipe is beginner-friendly and gives you bakery-style results at home.
When I made this the first time I was so nervous, I didn’t want the bread rolls to come out hard as a rock. But when I peeked into the oven and saw them puffing golden and beautifully, I was soo happy.
My life long dream to make bakery style bread rolls at home was finally coming true 😂, I promise I am not exaggerating.
Find below the recipe and I would love to know how it goes for you.
Also for some reason if your bread rolls don’t turn out good, I would highly encourage you try again.
Make your life more simple: I love prepping them first thing in the morning after school and nursery drop-off. After the first rise I shape them and put them in a grease lined baking tray, cover with cling film and pop them in the fridge. I remove them 60 mins before dinner time, let them rise (proof) for 40 mins and pop them in the oven, they are warm and ready for dinner.
Ingredients (Makes 9–12 Rolls)
- 3 ½ cups (420 g) all-purpose flour (maida)
- 2 tsp instant yeast (or 2 ½ tsp active dry yeast)
- 2 tbsp sugar
- 1 tsp salt
- 3 tbsp oil or softened butter
- 1 cup (240 ml) warm milk (not hot, just lukewarm)
- 2–3 tbsp warm water (if needed)
- 2 tbsp milk + 1 tsp butter (for brushing on top)
Method
1. Prepare the Yeast
If you’re using active dry yeast, mix it into the warm milk and sugar and let it sit for 10 minutes until frothy. If you’re using instant yeast, you can skip this step and just add it straight to the flour.
2. Make the Dough
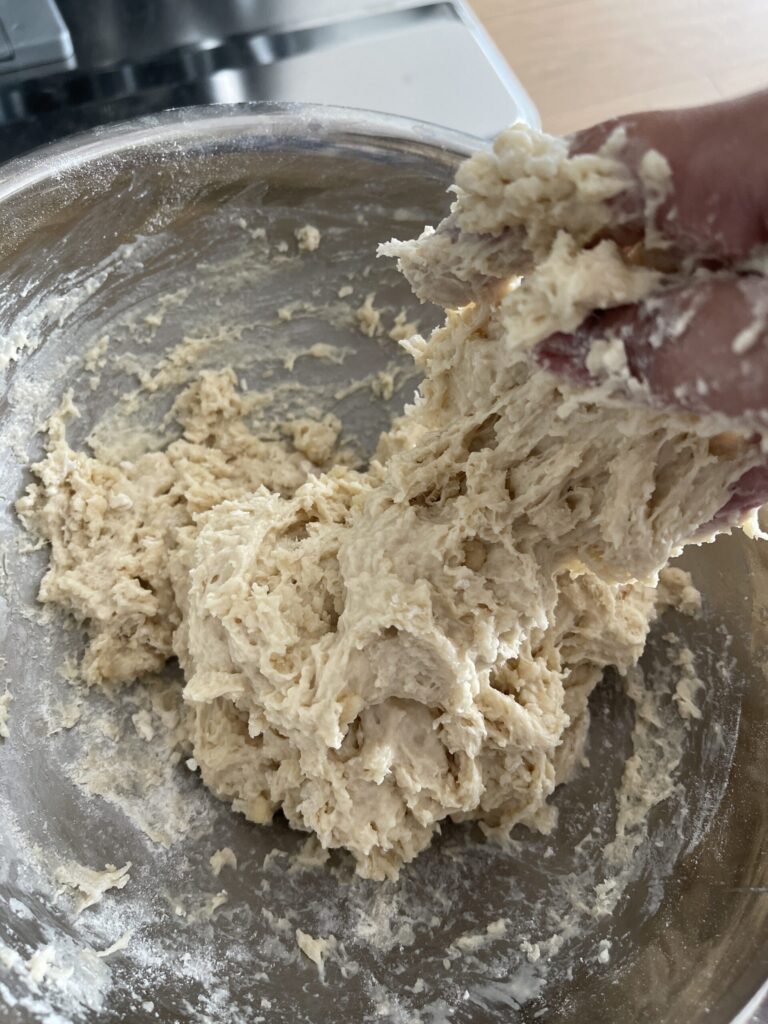
In a large bowl, combine the flour and salt. Add in the yeast mixture (or instant yeast + milk) along with the oil/butter. Mix everything until it forms a sticky dough.
3. Knead
Tip the dough onto a lightly floured surface and knead for about 8–10 minutes. It will start out sticky, but the more you knead, the smoother and softer it becomes. You’re aiming for a dough that is elastic and slightly tacky, but not sticking all over your hands.
4. First Rise
Place the dough in a lightly oiled bowl, cover with a damp cloth, and let it rest in a warm spot for about 1 to 1.5 hours, or until it doubles in size.
5. Shape the Rolls
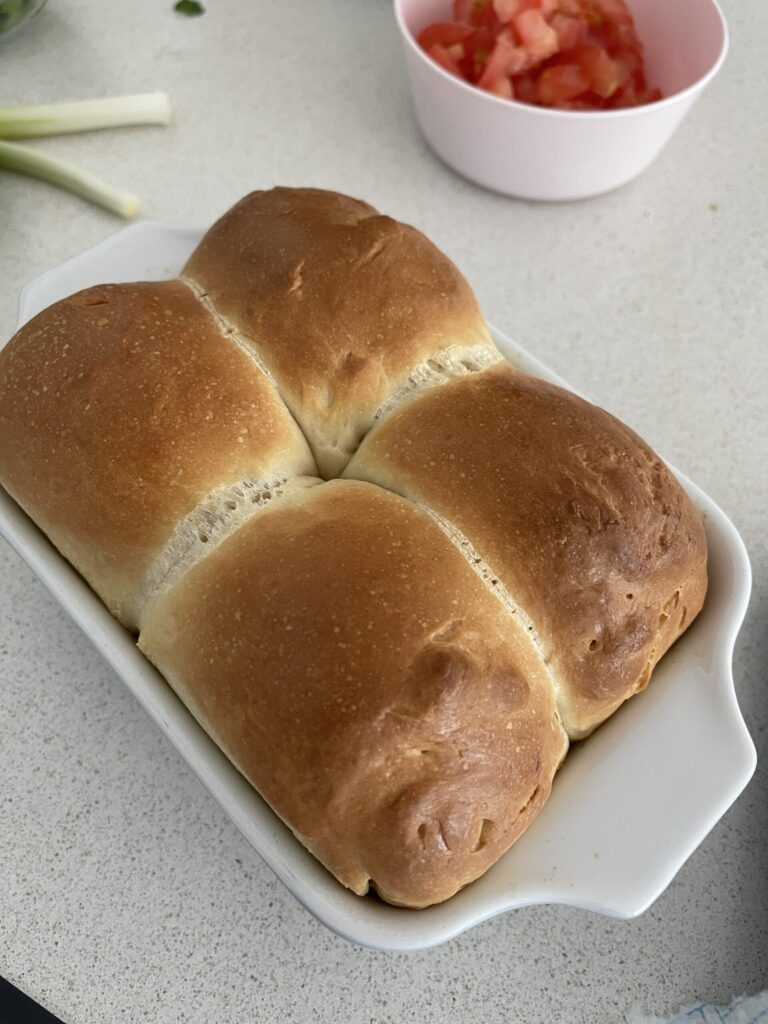
Punch down the risen dough gently. Divide it into 9–12 equal portions. Roll each piece into a smooth ball and place them in a greased baking dish, leaving a little space in between.
6. Second Rise
Cover again and leave the rolls to rise for another 30–40 minutes, until they puff up and just touch each other.
7. Bake
Preheat your oven to 190°C (375°F). Brush the tops of the rolls with milk and bake for 18–22 minutes, until golden brown on top.
8. Finish
Take them out of the oven and immediately brush with butter to give them that soft, shiny finish. Let them cool slightly before serving though honestly, nothing beats tearing into one while it’s still warm and dipping into your favourite soup or pav bhaji!
Tips for Success
- A sticky dough at the beginning is normal. Don’t be tempted to add too much flour, that’s what makes the rolls soft and fluffy. Keep pulling and kneading, within 10 mins you will see it all coming together.
- For extra-soft bread rolls/ pav, place a small oven-safe bowl of hot water in the oven while baking. The steam helps keep the bread tender.
- You can shape the buns ahead of time and keep them covered in the fridge. Just bring them back to room temperature for 45–60 minutes before baking.
If you want to bake some now and save some for later you can follow two methods:
If you only want to bake 4 buns now and keep the rest for later:
Option 1 – Fridge Method (Best for same-day use)
- After the first rise (when dough has doubled), punch it down.
- Divide into portions → shape 4 buns and let them rise, bake those now.
- Take the remaining dough, lightly oil it, cover well with cling film (or airtight container), and put in the fridge.
- It will rise slowly in the fridge.
- In the evening, take it out 1 hour before baking → shape into buns, let them proof again until puffy, then bake as usual.
This keeps the yeast active but slows it down so you get fresh buns later.
Option 2 – Freeze Method (For later days)
- After shaping into balls (before second rise), freeze the extra dough balls on a tray.
- Once firm, transfer to a zip bag.
- To use: thaw in the fridge (6–8 hrs or overnight), let come to room temp, proof until puffy, then bake.
I hope you enjoy making this recipe, see you soon with more easy, full-proof and delicious recipes!